Tried these last night for a closing today – and must say – they are super yummy! Baked up nice and fluffy with a great chocolate flavor!
2 cups all purpose flour 1/2 tsp baking soda 1/2 tsp salt 1/2 cup butter 3/4 cup cocoa powder 2 cups sugar 1 tsp vanilla extract 2/3 cup buttermilk 2 cups chocolate chips
Preheat the oven to 350F. Line a baking sheet with parchment paper. In a medium bowl, whisk together flour, baking soda and salt. Melt the butter in a small, microwave safe bowl. In a large bowl, combine the melted butter (still warm) with cocoa powder and whisk until very smooth. Whisk in sugar, vanilla extract and buttermilk. Gradually stir in the flour mixture until no streaks of flour remain. Stir in the chocolate chips. Drop dough in 1-inch balls into prepared baking sheet, leaving about two inches between cookies to allow for spread. Bake for 10-12 minutes, until cookies are set around the edges. Cool for 2-3 minutes on a baking sheet, then transfer to a wire rack with a spatula to cool completely.
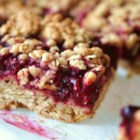
Preheat oven to 350 degrees F (175 degrees C). Grease one 8 inch square pan, and line with greased foil.
2.
Combine brown sugar, flour, baking soda, salt, and rolled oats. Rub in the butter using your hands or a pastry blender to form a crumbly mixture. Press 2 cups of the mixture into the bottom of the prepared pan. Spread the jam to within 1/4 inch of the edge. Sprinkle the remaining crumb mixture over the top, and lightly press it into the jam.
3.
Bake for 35 to 40 minutes in preheated oven, or until lightly browned. Allow to cool before cutting into bars.
NOTE: I substituted my Raspberry Sauce for the seedless raspberry jam – so much more flavorful! Make the sauce first so it has time to set up and cool. Raspberry Sauce
1 pkg frozen raspberries
2 T sugar
2 T cornstarch
¼ cup cold water
Mix raspberries with sugar in saucepan and heat to a boil, stirring constantly. Mix cornstarch with cold water and add to raspberries. Cook until thickened, stirring frequently.
In a medium-size mixing bowl, whisk together all your dry ingredients
In a separate bowl, whisk together all of the wet ingredients until the egg is broken up.
Add the wet ingredients to the dry ingredients and add the sliced bananas. Gently stir until you stop seeing flour. Be careful not to overmix, that will make the batter tough. Leave a few lumps for tender pancakes.
Place your a large non-stick pan over a medium-high flame and let the surface get hot. It’s hot enough when you sprinkle a few droplets of water over the surface and they evaporate.
Moisten a paper towel with vegetable oil and lightly wipe the bottom of the pan. This will keep the pancakes from sticking.
For each pancake, gently pour 1/2 cup of batter into the pan, using a ladle or a measuring cup. Use the back of a spoon to spread the batter into a circle.
Bubbles will form in the batter. When they begin to pop, the pancakes are ready to be flipped. Turn over gently with the spatula and cook for about one minute on the flip side.
Made these for breakfast this morning and they were super yummy! I have always mashed bananas before adding to breads, muffins, etc and was nervous about adding sliced bananas, but man these were good!!!!!! Will definitely be making them again! VERY filling!
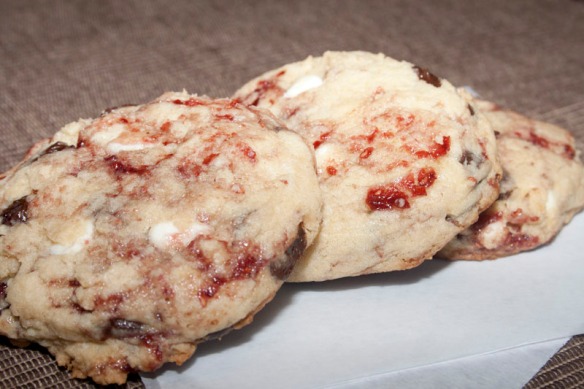
Tried these for another client dinner tonight – absolutely wonderful! 2 1/2 C flour 1/4 tsp baking soda 1/4 tsp baking powder 1/4 tsp cream of tartar 1/2 C butter, room temperature 1/2 C granulated sugar 1/2 C brown sugar 1 egg + 1 egg yolk 1/4 tsp salt 1 tsp vanilla extract 1/4 tsp almond extract Raspberry Jam (I used about 4 TBSP) 3/4 cup white chocolate chips 3/4 cup semi-sweet chocolate chips
Directions
1. Cream the butter & sugars until light and fluffy. Add egg/yolk, vanilla and almond extracts. Mix well. Add dry ingredients and mix until just combined. Add white & semi-sweet chocolate chips. 2. Scoop out about 1/4 of the dough into a smaller bowl. Add about 1 T of jam and cut it in using a butter knife. Be careful not to MIX it, or your dough will turn pink, you want more of a swirl. 3. Take the jam swirled dough and scoop by spoonfuls (I used a large melon baller/ice cream scoop) onto a cookie sheet lined with parchment paper. Flatten slightly with the back of a spoon or spatula and place in a 350° oven for 12-17 minutes. *Your bake time may be less depending on the size of cookie you make. I wanted mine big and bakery sized, so they took a little longer. Take them out when the edges are set but the center is still puffy and soft. Cool on baking sheet 5 minutes then transfer to a wire rack to cool completely. 4. Repeat steps 2 & 3 until all the dough is used. NOTE: I made my Raspberry Sauce instead of using the jam. It has such better flavor and always makes whatever I am making that much better.
Sauce:
1-10 oz pkg frozen raspberries
¼ cup sugar
2 T cornstarch
Thaw raspberries (I rarely remember to do this and it works just fine frozen). In small saucepan, combine sugar and cornstarch. Stir in raspberries with juice. Cook over low heat until you reach desired thickness (it will thicken as it cools too). Cool. Spoon over filled crepes.
NOTE: I use this sauce in any recipe calling for raspberry jam – so much more flavorful! Fabulous over cheesecake and ice cream.
2. While it is baking, mix the 2 milks together and set aside
3. When the cake comes out of the oven, pierce it all over with a fork to create holes for the liquid to seep into
4. Slowly pour the milk all over the cake
5. Refrigerate the cake until chilled through
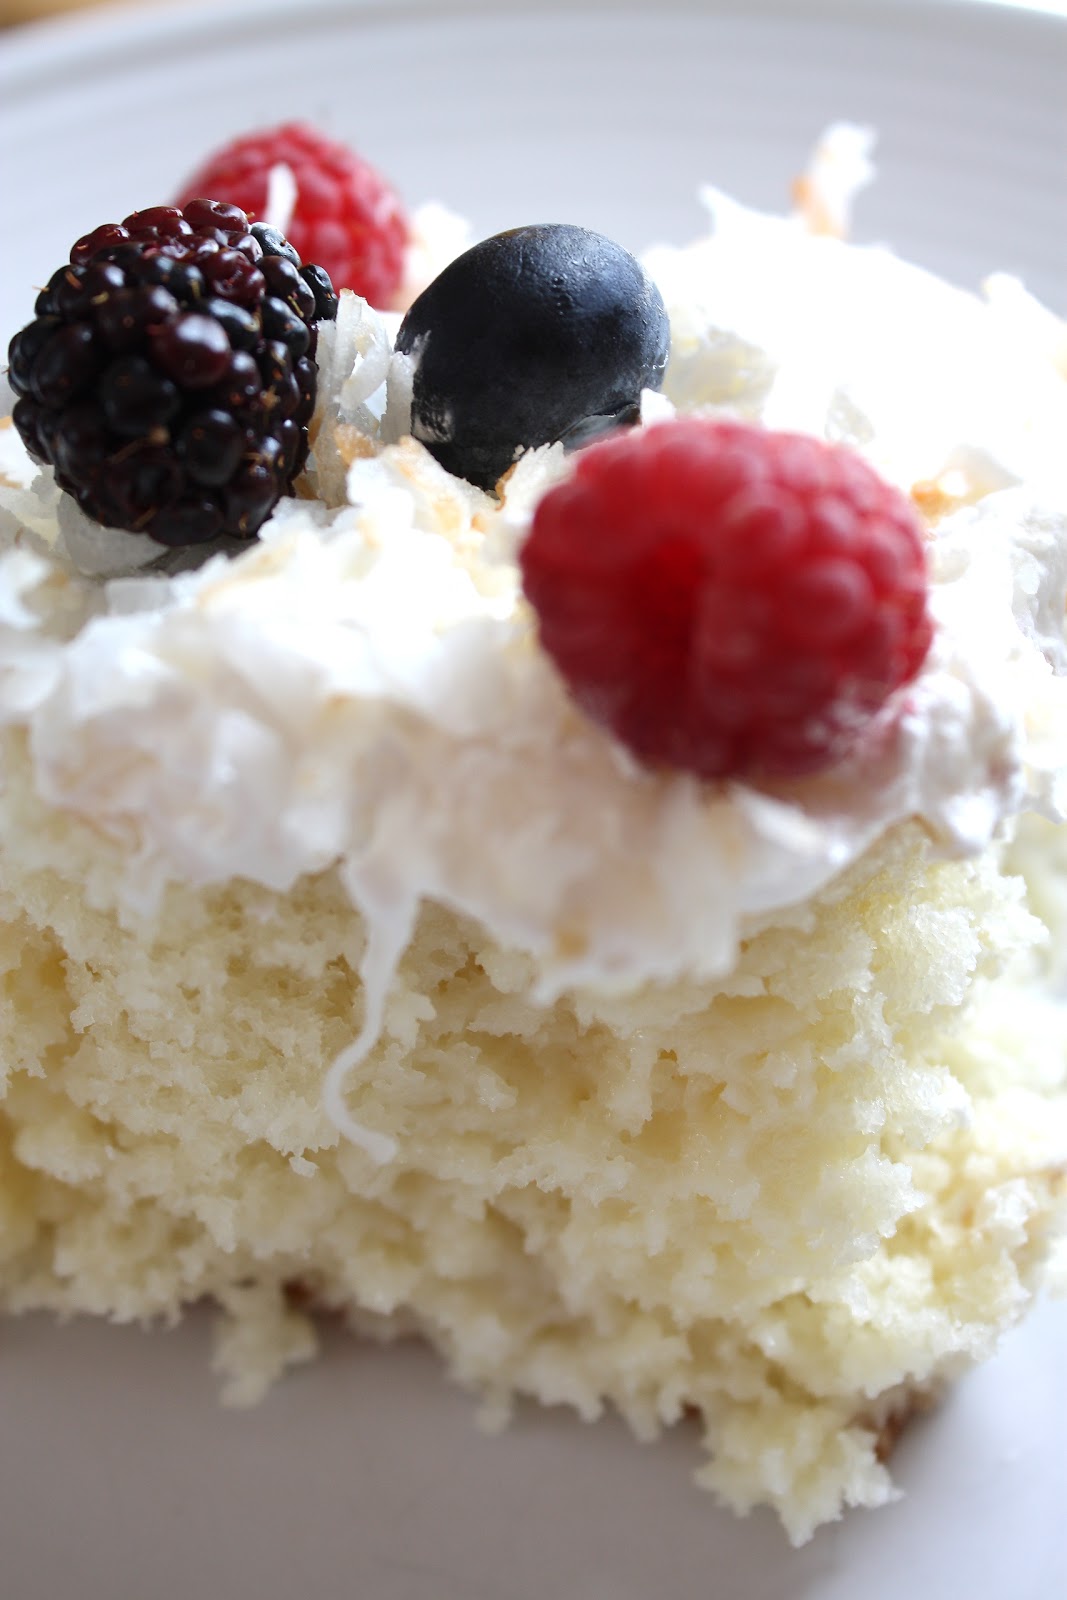
6. Mix 1 small container of whipped topping with 1 cup of shredded coconut. Spread over top of cake.
7. In the oven toast coconut at 375 degrees until lightly brown; stirring several times during browning process. Remove when you have a light toast and sprinkle all over the top of the cake.
8. Top with your fruit of choice.
NOTE: Modified from http://www.theredheadedhostess.com/home-and-family/my-recipes/yummy-coconut-milk-cake/. I eliminated the 1 cup milk and toasted my coconut in the oven (too oily with the added butter). Also, I saw lots of comments about the cake mix itself – the ones with the pudding in the mix (my favorite) are apparently too moist for this recipe. I used the store brand and had a great dessert!
“Wherever you go, no matter what the weather, always bring your own sunshine.” ~Anthony J. D’Angelo, The College Blue Book
When I was 14 my dad announced that we would be moving to Japan….WHAT?! Where the heck WAS that anyway? My father worked for GE and moved up quickly in the company, which translated into lots of moves for our family. I was born in NY, lived in San Jose, CA, Big Lake, MN, Joliet, Illinois, back to San Jose, CA, then Japan. We had lived in San Jose for about 6 years when my father made that announcement. It was the longest I had lived anywhere and I was at that age where your friends are more important than family – or so it seems. Ha! I was pretty angry about the whole thing and began to make my own plans to move in with my best friend Pam (do you remember that?!) and her family (hey, it seemed like a great idea at the time). THAT did not go over well with my parents and so, a few months later I found myself on an airplane heading to Japan…. Before we even touched down I KNEW that I hated Japan and the people and customs that I would find there. Not surprisingly, I had a horrible experience my first year there – where people walk on the wrong side of the street and stairs (I bet you didn’t even realize we have a “right” side of the street to walk on!), speak a strange language and read a foreign alphabet (in fact, 3 alphabets!- really?) and do it from the “wrong” side of the page and furthermore, read up and down instead of across the page! I won’t even get into their weird food or dress! I became a hateful, ugly person! I was able to return to “the states” for home-leave for the summer and was so excited to be back in America! I had a great summer with friends and longed to stay behind when it was time to return to Japan. My friends kept telling me how lucky I was to be having such a great experience – that they had never even been outside of California, etc. and I kept responding, “That is because you don’t have to actually live there!” The flight is a loooooong one and gave me a lot of time to think. I was failing classes (I had been a straight A student in the states), didn’t have any really close friends and was miserable. I thought a LOT about what my friends thought about my great experience and how much they wished they could be living in Japan and the thought occurred to me that I had made my first year utterly miserable because I had DECIDED it was going to be horrible. I knew that I was going to be there another 3 years and decided that I could learn everything I could about the culture and the people and DECIDE to be happy or I could be miserable for another 3 years. I put on my “rose colored glasses” and decided to make it the best 3 years of my life. WOW! What a difference an attitude makes. The country with its customs and people and culture really is amazing. They are not “wrong” – they are different. I was young and immature and wish now that I had done more and taken advantage of more opportunities, but the lesson of looking at life with a positive attitude has never left me. Japan was the same – it was ME that was different for those last 3 years. And those 3 years were the best years of my life (up to that point anyhow). I met amazing people, had awesome teachers, made good friends (many that I am still in touch with), learned to love the food and the culture. We don’t always get to choose all of our experiences, but we can ALWAYS choose how to respond to them. Life is hard sometimes and it is easy to become discouraged. I have learned to ask, what can I learn from this experience (instead of “why me?”) and that I will handle ANY situation better with a positive attitude. I have observed many people over the years in a variety of experiences and trials and know that without question, those that are happiest really do wear those rose-colored glasses. They accept trials and hardship with a cheerful outlook. They look outside of themselves and ask how they can make life better/easier for someone else. They understand that really, why should they NOT expect to have hardships? I am still working on becoming that kind of person myself. I KNOW for sure that when I put on my good attitude in the morning, my day goes better. I know that if I can honestly feel grateful and recognize the hand of the Lord even in the hard times – that the hard times can be good times too. Feeling super grateful for all of life’s experiences – good and difficult. Looking back over the years, most of my best memories center around difficult experiences – interesting, no?! It is during those times that I feel closest to my family and my Heavenly Father. It is when I look the hardest for His influence in my life. It is when I am the most quiet and open to feel God’s spirit and love. It is when I am the most humble. Life IS good. Put on your GOOD ATTITUDE and go out and have yourself a fabulous day!
“Attitudes are contagious. Are yours worth catching?” ~Dennis and Wendy Mannering
1. Preheat oven to 350°. Bake pecans in a single layer in a shallow pan 6 to 8 minutes or until lightly toasted and fragrant.
2. Microwave chocolate and butter in a large microwave-safe bowl at HIGH 1 to 1 1/2 minutes or until melted and smooth, stirring at 30-second intervals. Whisk in sugar and eggs until well blended. Stir in flour. Spread batter into a greased 13- x 9-inch pan.
3. Bake at 350° for 25 to 30 minutes or until a wooden pick inserted in center comes out with a few moist crumbs. Sprinkle warm brownies with toasted pecans and marshmallows.
4. Prepare Chocolate Frosting. Pour over pecans and marshmallows; spread to edges. Let cool 1 hour on a wire rack. Cut into squares.
Chocolate Frosting
1/2 cupbutter
1/3 cupmilk
6 tablespoonsunsweetened cocoa
1 (16-oz.) package powdered sugar
1 teaspoonvanilla extract
Cook first 3 ingredients over medium heat in a large saucepan, stirring constantly, 4 to 5 minutes or until butter melts. Remove from heat, and beat in powdered sugar and vanilla at medium speed with an electric mixer until smooth.
Prepare ziti according to package directions; drain and return to pot.
Stir together Alfredo sauce and sour cream; toss with ziti until evenly coated. Spoon half of mixture into a lightly greased 13- x 9-inch baking dish.
Stir together ricotta cheese and next 3 ingredients; spread evenly over pasta mixture in baking dish. Spoon remaining pasta mixture evenly over ricotta cheese layer; sprinkle evenly with mozzarella cheese.
Bake at 350° for 30 minutes or until bubbly.
Note: Ziti pasta is shaped in long, thin tubes; penne or rigatoni pasta may be substituted, if desired.
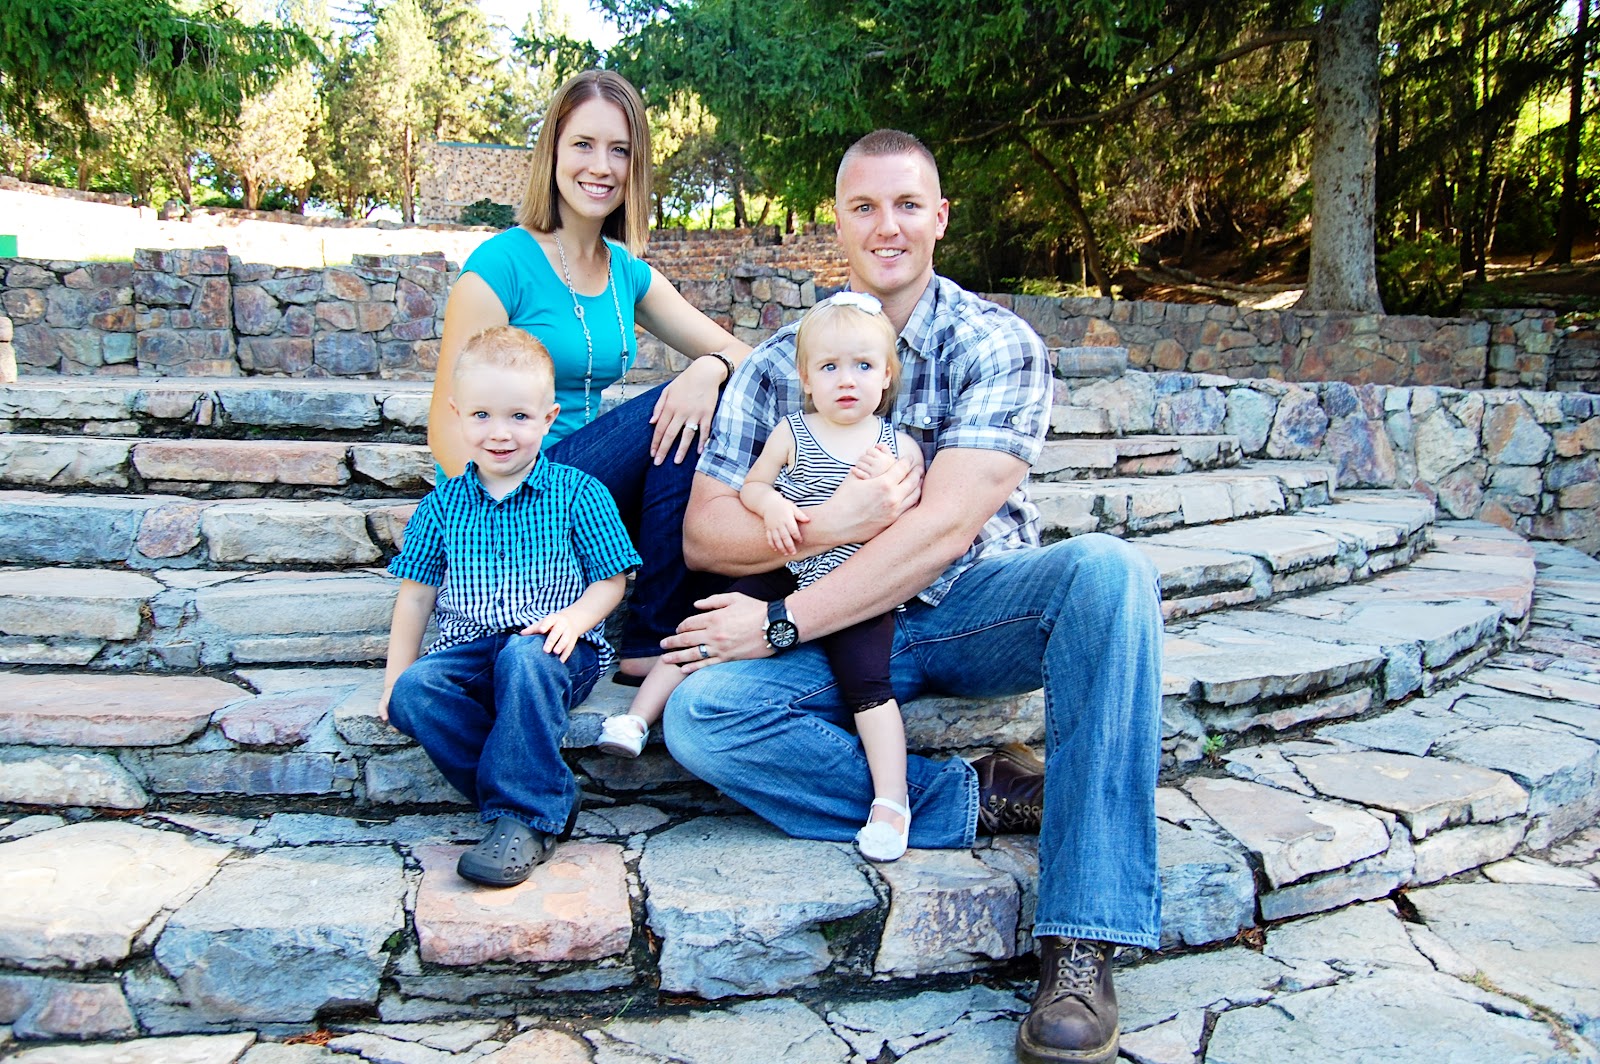
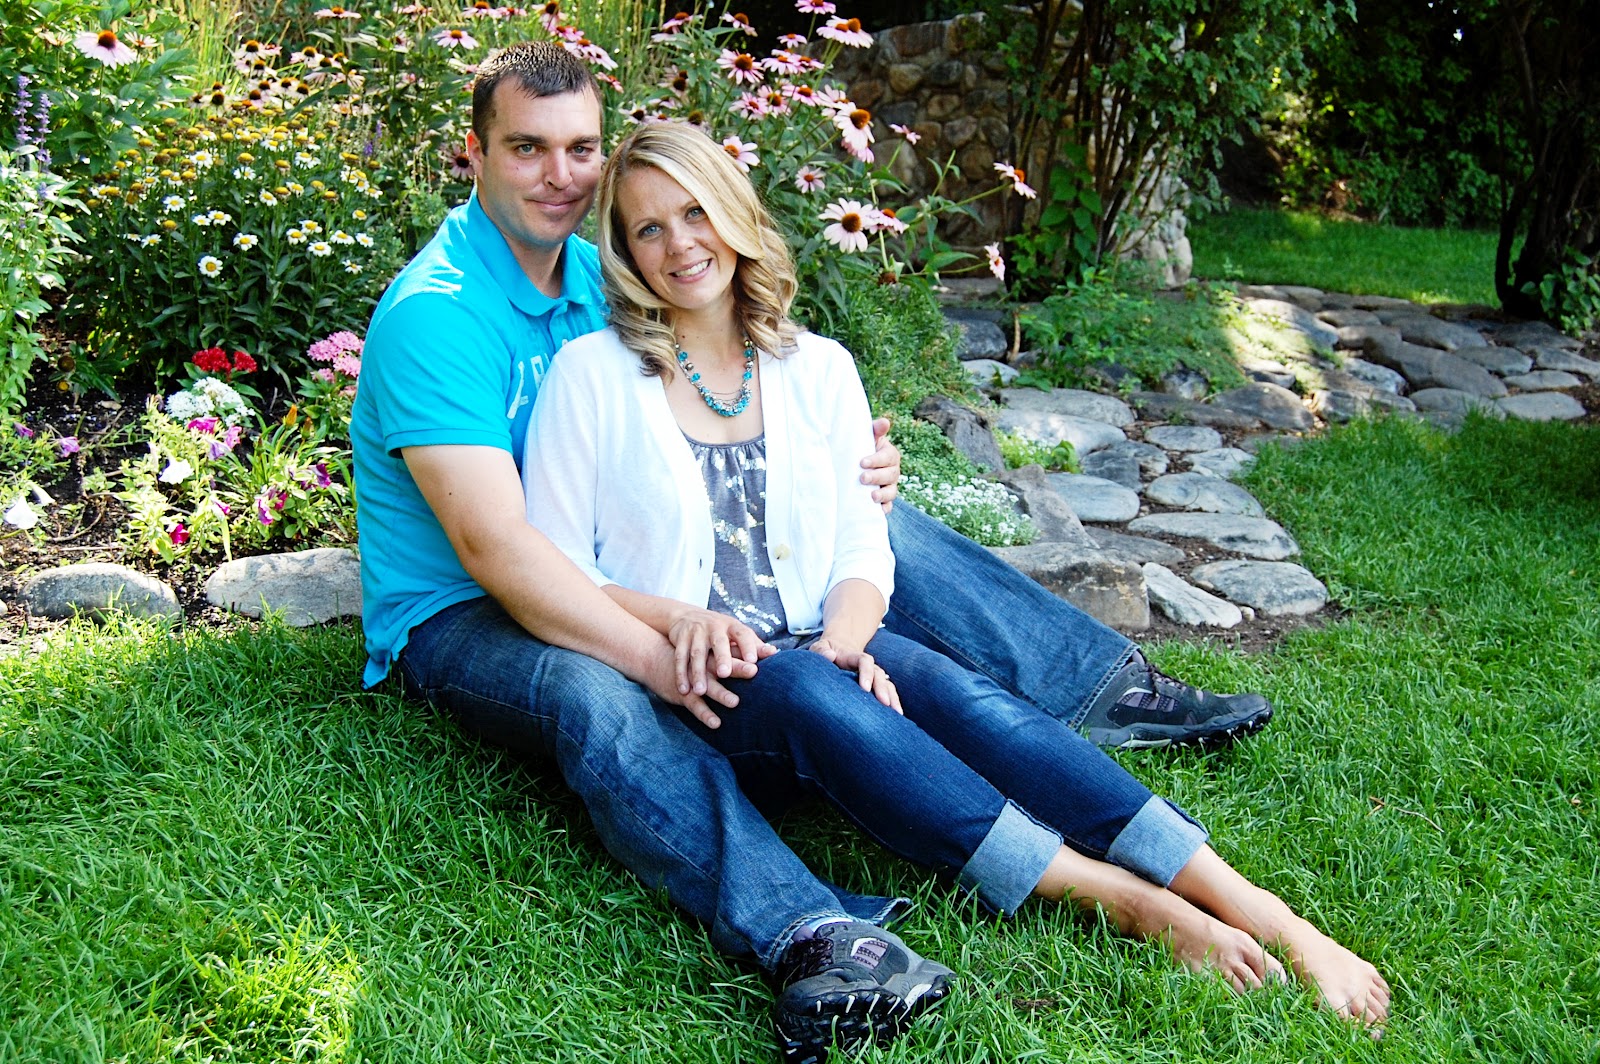
So when the whole fam was together (which does not happen nearly enough!) we had family pics taken. Below are some of the moments captured that day (in the order I took them off the disc). Sure do love my beautiful family!
Ashley and Briley
Crew and Briley
Son Brian and his family
Brian and Ashley
Crew and Briley
Briley
Briley
Briley looking a bit serious
Briley
Jason and Celeste
Halle with her pouty face on!
Halle
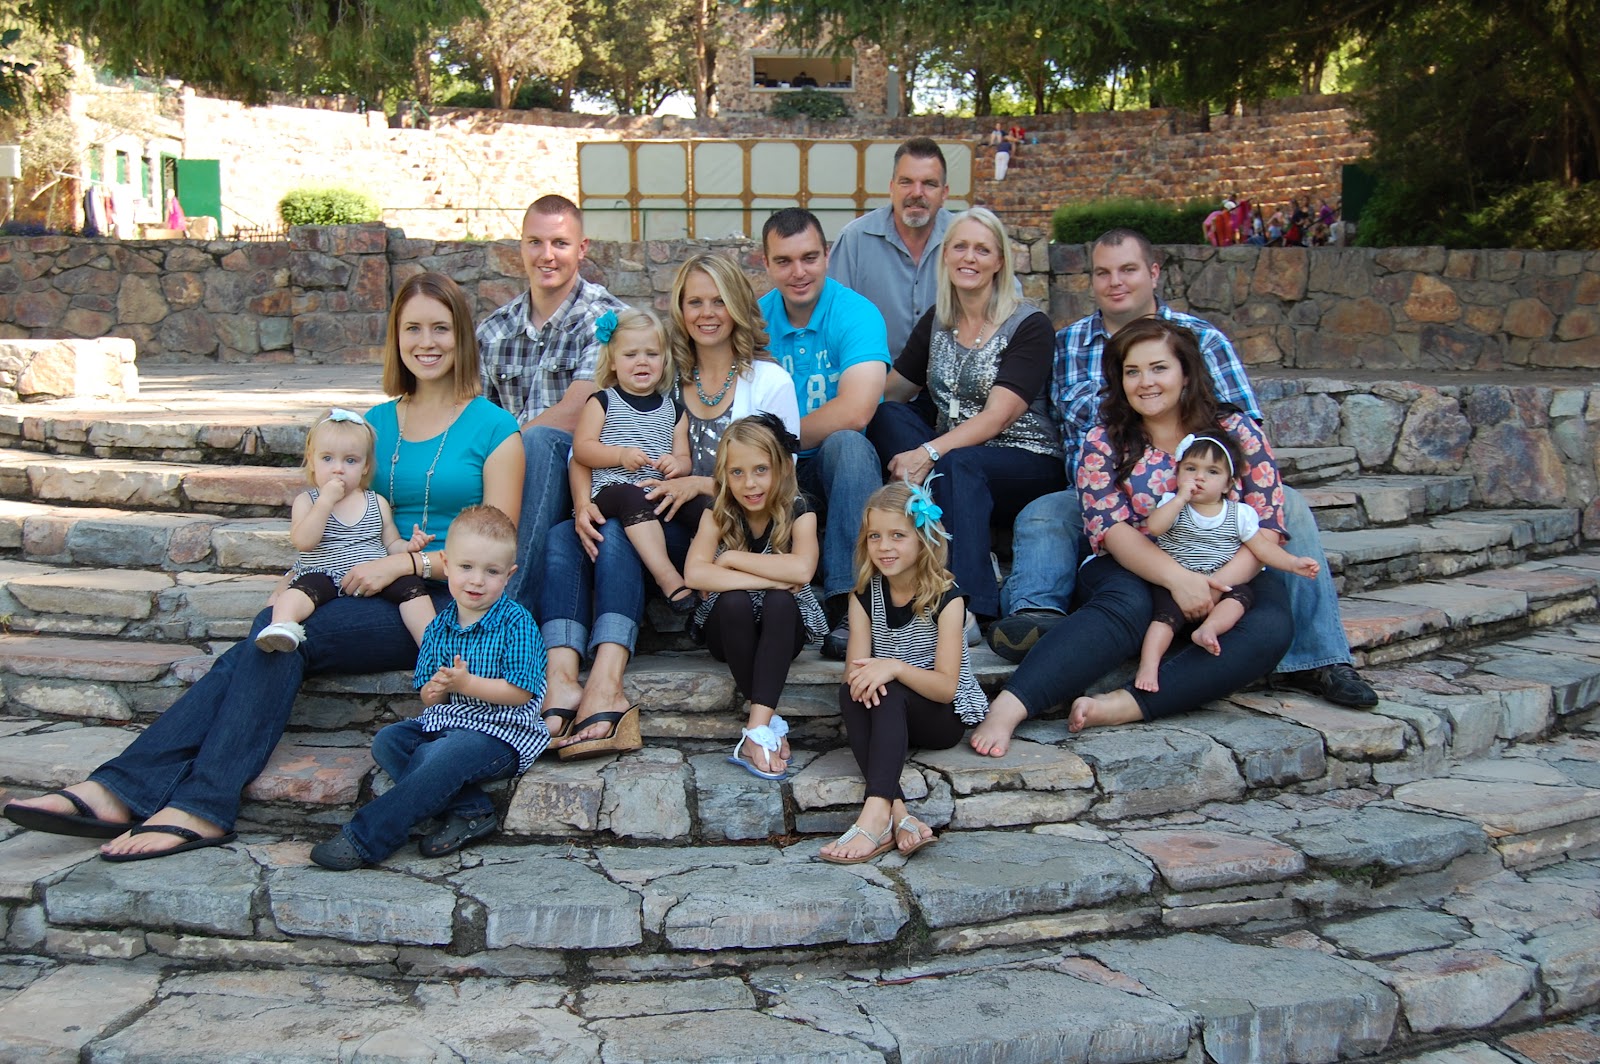
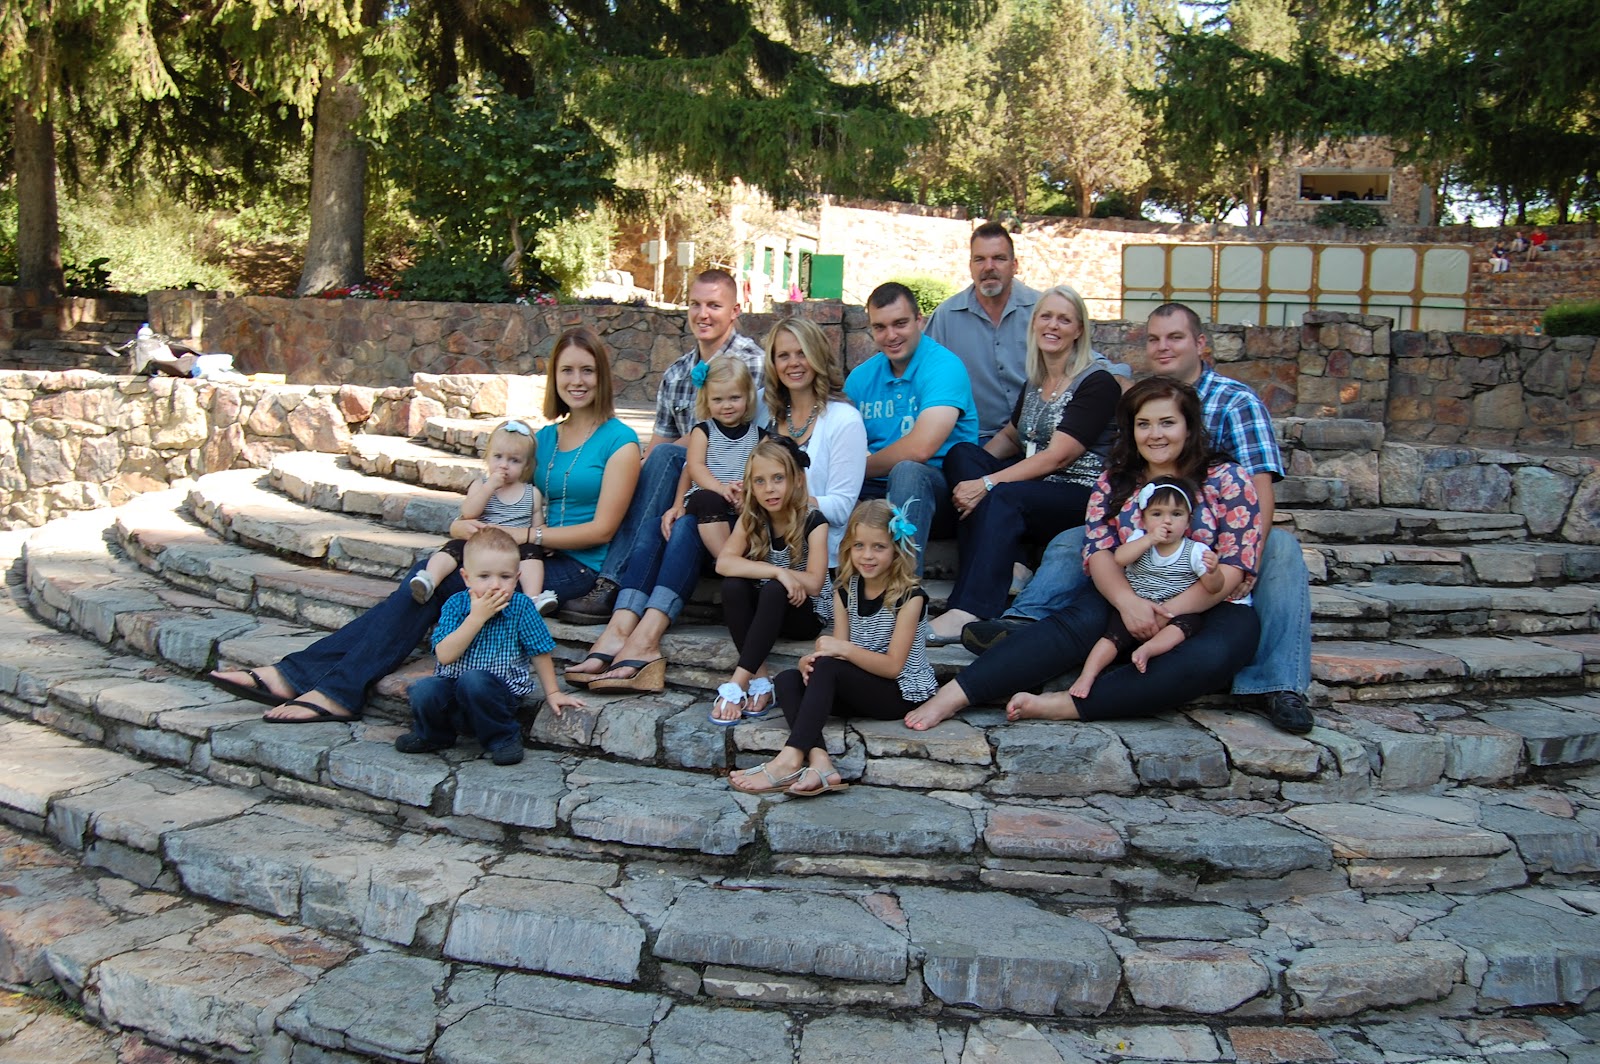
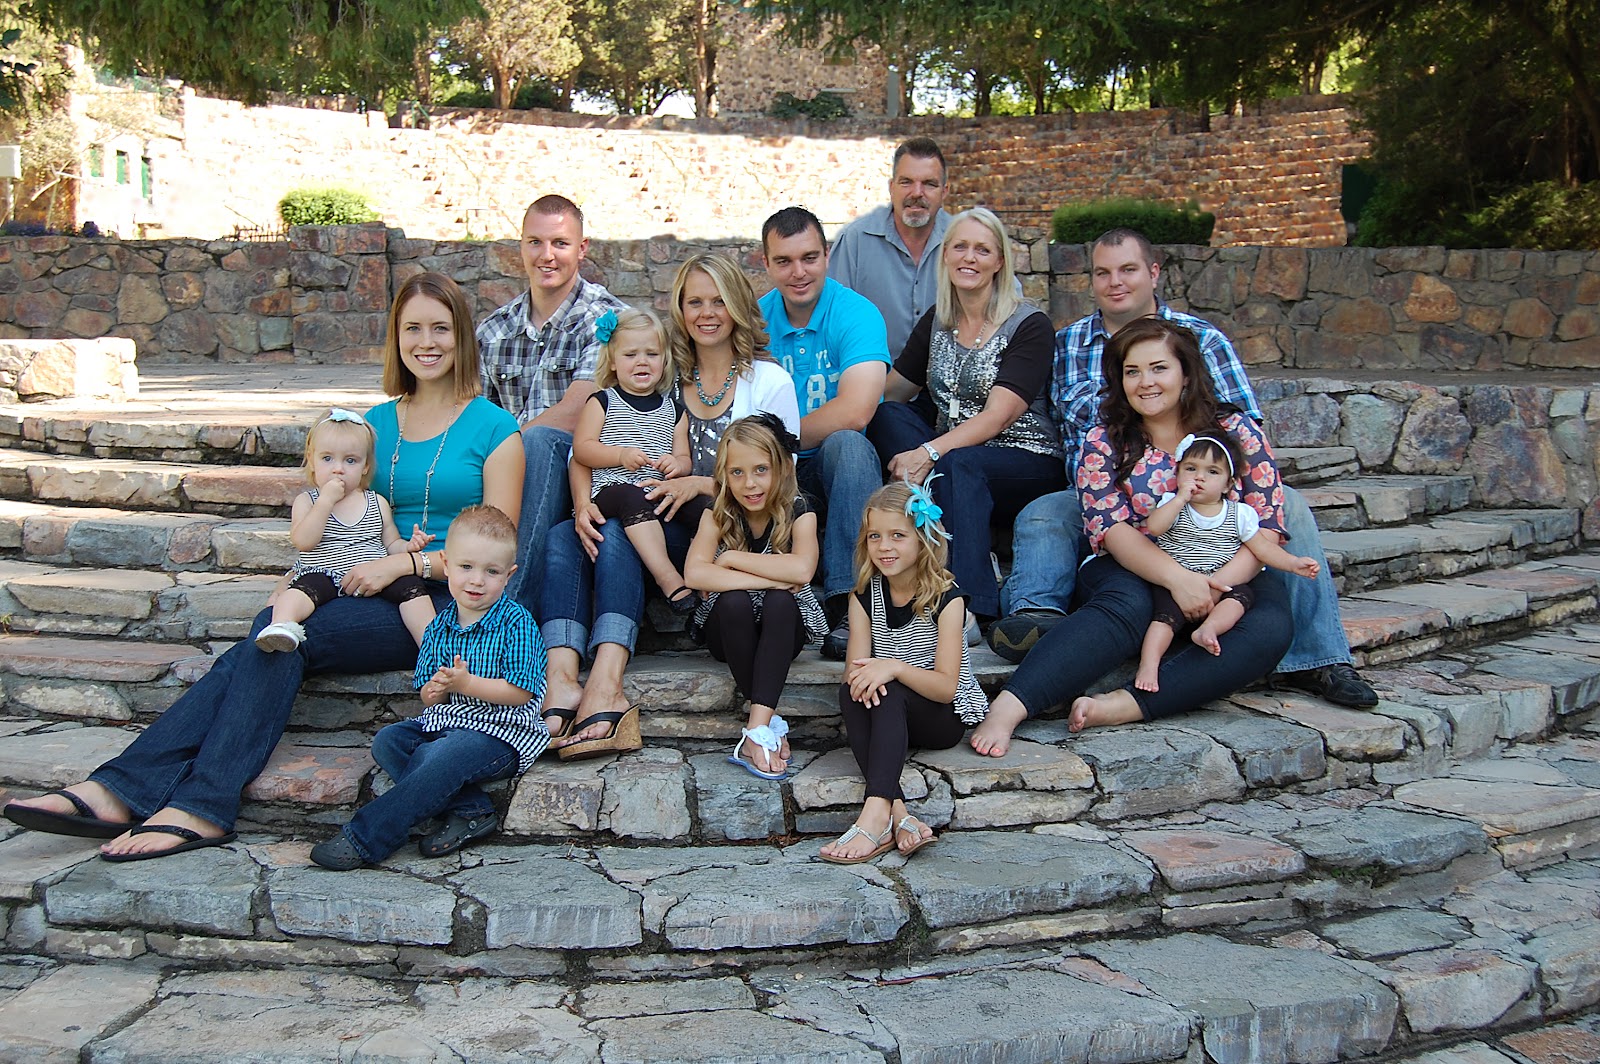
Whole damn fam
Again
And again!
Bri and Crew
David and I
Papa and Izze
All the grandkids
We are done grandma!
Can you handle that cute face?
Izze
Crew and Briley
Papa and grandma with all the grandkids
Izze
Izze being her cute self!
Sisters – they are just the best!
Son Jason and his cute family – wow that’s a lot of hormones son!
Son Jonathon and his family
Jonathon, Sarah and Izze
Kayla
Kayla again – can’t get enough of her pretty smile!
Kenna – our oldest grand-daughter
Kenna again!
All 3 boys together
Used to just be us…..
Now we are this!
And one more of the whole group!
Sisters!
Grandma, really! We are over it already!!!!!!
Jonathon and Sarah
All the grandkids – Halle sums it up best with her finger in her nose – that’s for you grandma!
Briley
all of us again
Crew and sister Briley
Crew with those beautiful blue eyes
Jason and all his “girls”
Crew
Yeah, we started all this!
Can’t even begin to tell you how much I love my wild, crazy family! They truly bring me the most joy in my life. Who knew when we married nearly 32 years ago, that we would end up this happy?! It is awesome to be married to your best friend in the world and even more rewarding to see your children find their “one and only” and have their own happy families. We are certainly not perfect, but I do believe we are perfect for each other! I will count my blessings – beginning right here with my incredible family! Love them!
Thanks for stopping by – hope you have found your own little piece of heaven. It’s worth the searching for….
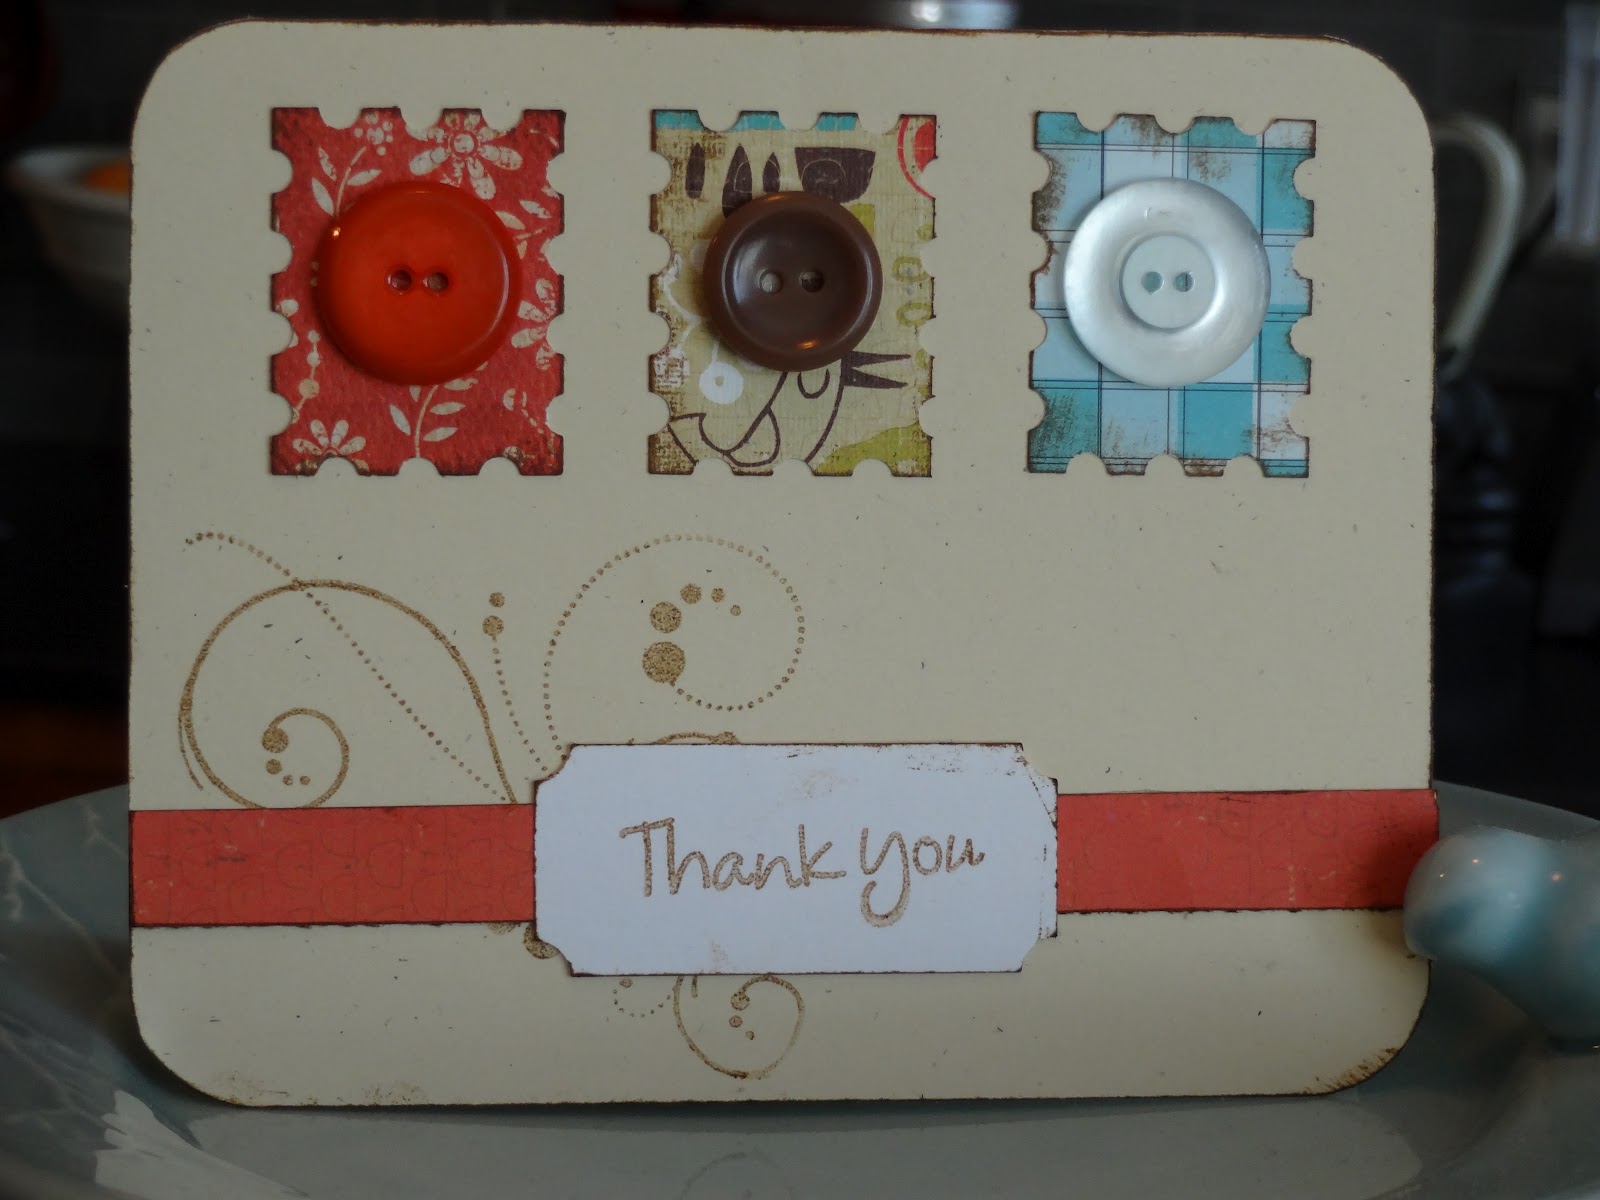
On rare occasions I “work” like this! I figure card-making “qualifies” as working since I use my cards for clients and agents alike. I’ve been so slammed for the past 3 months I haven’t had time to breathe! Nice to still be busy and be able to breathe at the same time. Hope to keep “working” like this.
I made 16 of the card above. Super simple and done relatively quickly.
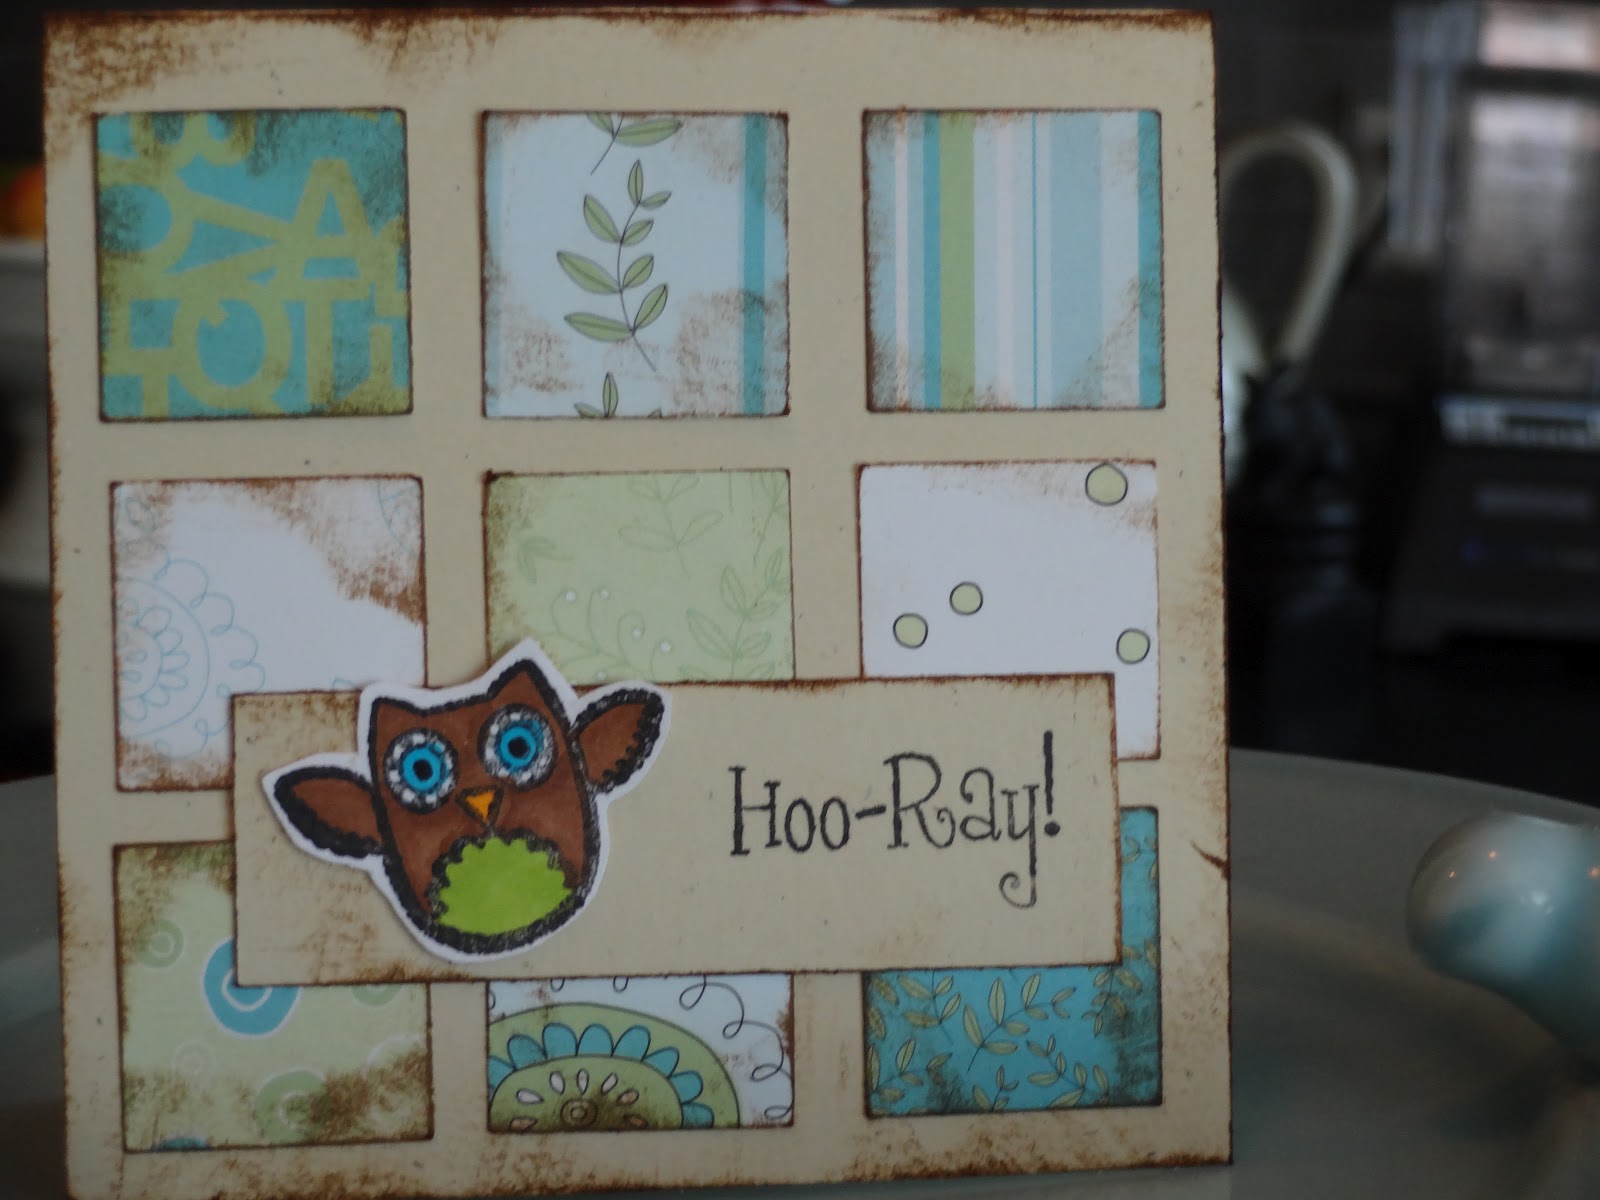
I made 24 of the card above. More time consuming – lots of little pieces, but nothing hard about it. Funny thing about this one is I “copied” it from another card and was not as happy with my owl stamp as I was with hers. When putting the stamps away-I discovered I had the very same owl stamp as she had used on the original card – STUPID! Oh well, there is always next time……
Maybe that indicates I have too much stuff – nah! NEVER!!!!!


 Facebook
 X
X
 Pinterest
 Copy Link